
![]()

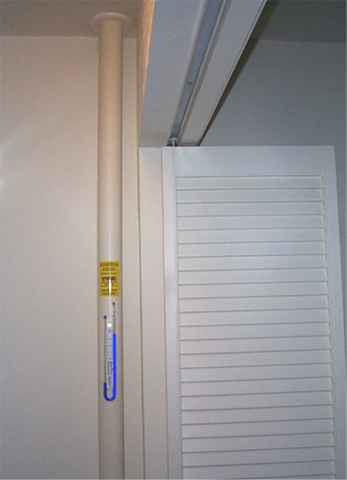
(Active Soil Depressurization) Interior Installation
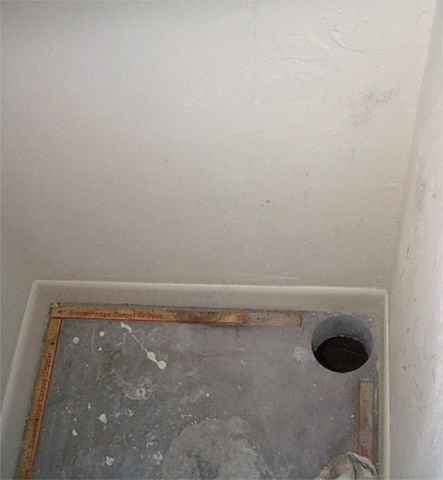
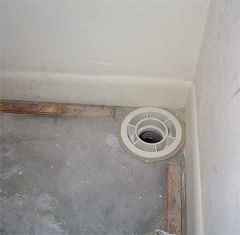
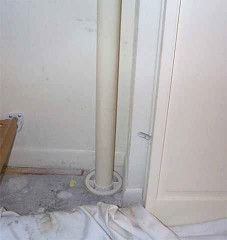
| The photo's and diagrams illustrate how these systems look when they are installed and what you do not see once they are installed. Installation procedures are as follows. Example: A 1,500 square foot slab on grade home. A 4.5 inch hole is cored through the concrete floor, in sometimes more than one location but for simplicity purposes we show only one location. Usually these locations are the corners of closets where the pipe can be concealed. Approximately 15 to 25 gallons of soil is removed. Creating a"suction pit" or "suction point". A 4-inch PVC bushing is installed in the hole and 2 or 3 inch PVC pipe is installed and extends vertically to the attic space above. The pipe is attached to the intake side of a radon exhaust fan which is mounted in the attic. If more than one point is necessary then the multiple pipes are first connected together in the attic. Similar to a central vacuum system and then connected to the intake side of the fan. The fan must exhaust through the roof using 3 or 4 inch PVC pipe, looking very similar to a typical plumbing vent. When the system is activated the fan suction creates a slight negative pressure below the slab and draws radon gas to the suction pit and up the pipe and vents it to the outside air where it quickly dilutes. |
|
